Skip to content
For bar owners and managers

From sign-up to your first live order.

This is the same setup your venue walks through in DrinkLync, step by step, and the same checklist the product runs before it lets your bar take a real order. Nothing on this page is a promise the product does not check.

Prefer we build it with you? Your venue details go to a person, who walks your venue with you on a call and builds it in DrinkLync. Prices are on the pricing page, in full.

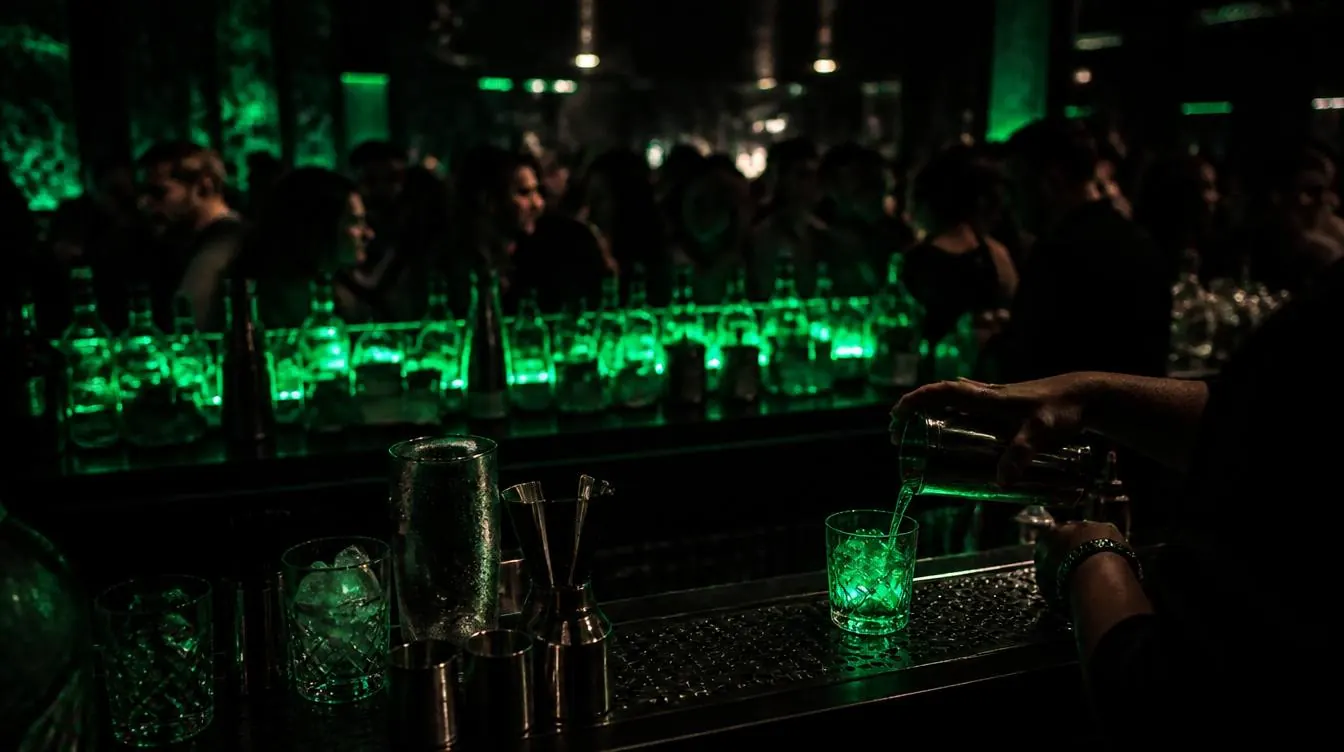
A packed bar with a bartender pouring

What to have ready

Most of this you already have. The setup asks for each item at the step that uses it, and you can stop and resume at any point.

Payments

Your own Stripe account

Customers pay your venue directly, through a Stripe account in your business's name. Payouts land in your bank. DrinkLync bills you a flat subscription and takes no share of your sales. Stripe asks for your business details and a bank account, which takes about ten minutes.

Hardware

Two iPads per station

Each station runs on two iPads: one for the bartender and one for the gatekeeper at the pickup point. Pair iPads you already own with a QR code, or request iPads from DrinkLync and they arrive pre-configured for your bar. Managers can use any browser.

Menu

Your drinks and prices

Pick what you pour from the catalogue, decide whether every bar pours the same menu, and set prices. You can change prices later from your phone.

Team

Your staff's names and emails

Bartenders and gatekeepers get an email invite with an activation PIN, then choose their own PIN to sign in on the station iPad. You can also set someone up in person.

Venue

Address, hours and sales tax rate

The address, phone, timezone and hours you keep, plus the sales tax rate that applies to your drinks, and the names of your floors and bars.

Agreement

A signed DrinkLync agreement

A venue cannot go live without a signed agreement on file. Read the terms of service any time before you start.

The setup, in the order you will see it

After you create your venue account, the setup in your manager dashboard has these steps.

  1. Your profile

    Your name, photo and contact details. You become the contact on your venue's account.

  2. Your venue

    Address, phone, timezone and hours: how customers find you and how orders are timed.

  3. Your bars

    How many bars you run and what each is called. These are the names customers and your team see.

  4. Your drinks and prices

    Build your menu: your sections, the spirits you carry, your drinks, their prices and photos.

  5. Payments and billing

    Connect your Stripe account and start your DrinkLync subscription.

  6. Your team

    Add bartenders and gatekeepers by name, at least one of each.

  7. Your iPads

    Pair your own iPads, or tell us how many stations you run and where to send pre-configured ones.

  8. Your agreement

    Your legal business name, who signs and who gets the invoices. Most of it is filled in from your registration.

  9. Final run-through and go live

    Every check below, green or red. When the required ones are green, you switch ordering on yourself.

What DrinkLync checks before your first live order

Ordering stays off until every required check passes. These are the checks, by name, as the product runs them.

  • DrinkLync subscription activeStarted in the payments step.
  • Venue profile completeName, address and timezone.
  • Venue is on the mapConfirm your street address is placed on the customer map, so nearby customers can find you.
  • Sales tax rate on fileSo every receipt is right from the first order.
  • DrinkLync is open in your citySales tax, alcohol rules and the venue clock are set once per city by DrinkLync. Nashville is open.
  • At least one floor mappedFloors, bars and stations tell each order where to go.
  • A priced menu itemAt least one drink with a price above zero.
  • Every active drink has a real costEnter what each drink costs you (or upload a supplier invoice), so margins are measured, never guessed.
  • Venue contact on fileA manager name and email.
  • An iPad station registeredAt least one station paired to your venue.
  • Signed DrinkLync agreementOn file before ordering can turn on.
  • Checkout payment setup verifiedThe server and checkout run in the same payment mode, so test and live payments never mix.

Also checked: advisories, some required depending on your setup

  • Stripe account activeYour Stripe account can accept charges.
  • Payments in live modeNot test mode.
  • A staff invite acceptedAt least one person on your team has activated their account.
  • A test order reached the ready wallSend a test order; a bartender marks it ready. Test orders are labelled and never counted.
  • Tax mode chosenTax added on top (with Tennessee liquor-by-the-drink as its own line) or included in your prices.
  • Valid liquor license on fileNot expired.
  • BrandingYour logo and colors on the customer menu.
  • A hero photoThe first thing customers see on your venue page.
  • No ordering override in forceNothing is holding ordering off by hand.

Pick how you want to start

Set it up yourself

Create your venue account and work through the steps at your own pace. Your progress is saved.

Onboard your bar

We build it with you

Tell us about your venue. We walk it with you on a call, build it in DrinkLync, and you go live.

Send your venue details

Check the numbers first

The full price list, the two add-ons, and a calculator for your own nights, staff and drink prices.

See pricing